I love Halloween and I love decorating, so it’s only natural that I absolutely love decorating for Halloween. My only roadblock is budget.
I saw this super amazing life-size mummy at Goodwill last week that would have been perfect for my front porch. Then I looked at the tag and it was $89.99! What?!?!?! Surely I didn’t stumble upon the mummy of King Tut at the Overland Park Goodwill. Nope - let’s face it, Halloween decorations can be pricey!
Most of my Halloween decorations are bought in November during post-season clearance or throughout the year at garage sales, estate sales or flea markets. Speaking of flea market finds, check out my super cute Casper doll that I got for $4 at As Time Goes By in Greenwood, MO.
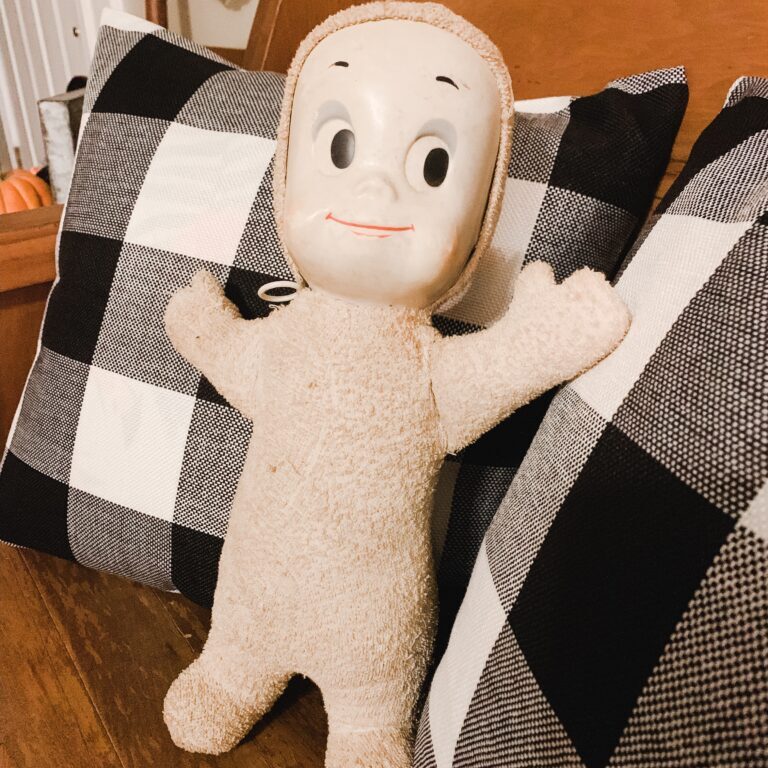
Funny story. The night I bought him, I started second guessing my purchase because I thought he might be haunted. But then I got home and found the perfect spot for him on my mantle. The next morning, he was sitting in the rocking chair. #FREAKY
This went on for weeks leading up to Halloween. When it came time to put away the Halloween decorations, I wasn’t sure what to do with Casper. It didn’t seem right to cram him in a plastic tote if he wanted to be a free spirit, so I put him on a shelf downstairs. My husband finally admitted to moving him around. So now we have our little Halloween Elf on the Shelf tradition…just with a friendly ghost.
Enough about Halloween past, it's time for Halloween present.
Yeah, Ava Ryan, I freakin’ love Halloween too. And I need some bats.
I found PVC bats on Amazon that were a great buy, but they were a little shiny and a little too small. Note to self - always check dimensions. I never check dimensions. I ended up using those for another project and decided to just cut my own bats.
Last year, my husband surprised me with some bat masks from Costco. Fun, huh?
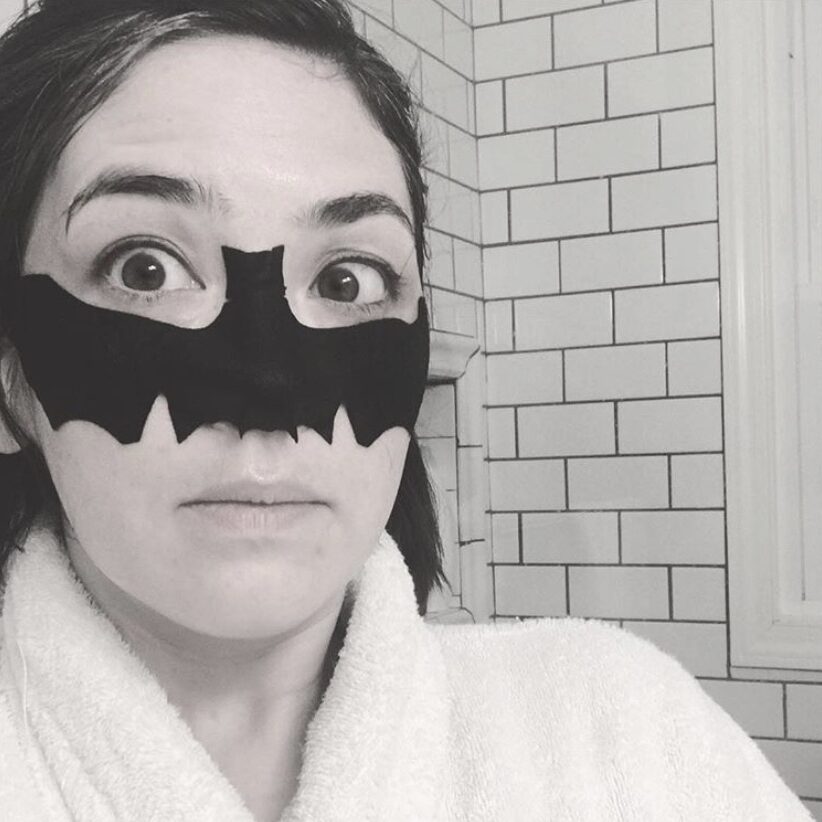
The bat face masks came in a cardboard box with a super cute bat on the outside, so of course I cut out the bat and kept it just in case I ever needed it. Turns out, it made the perfect template. I’m so glad I didn't recycle the box. #HOARDER
The face mask bat had a wing span of approximately 7.25 inches; which was absolutely perfect for filling up the wall fairly quickly.
I put on a scary tv show and set work creating my bats.
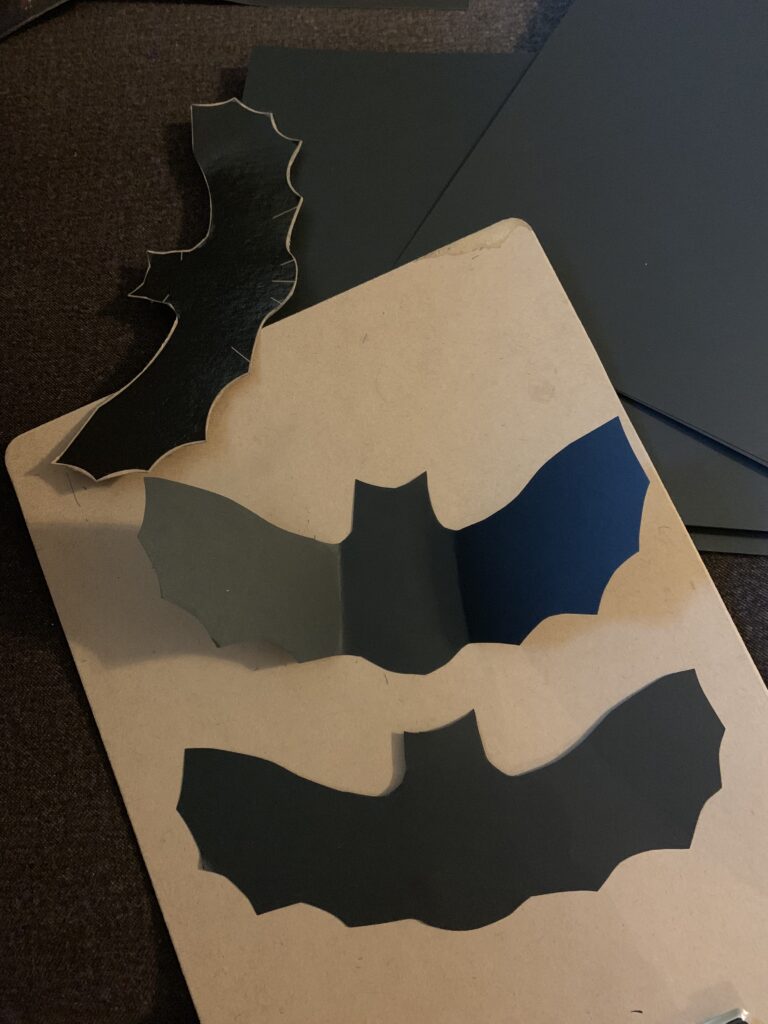
Ready to make your own bats?
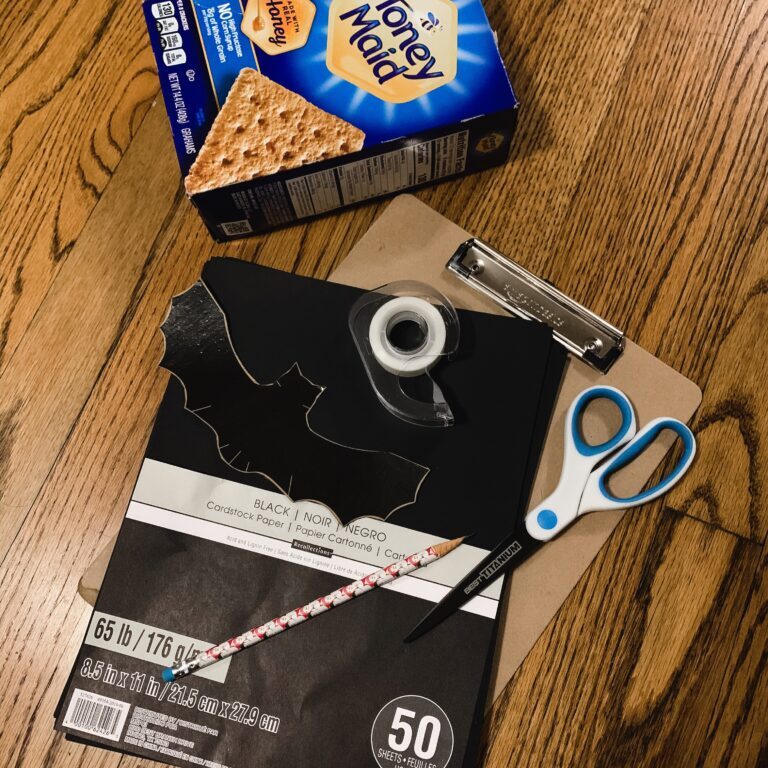
Supplies needed
- Bat template - You can draw your own, find a bat shape you like online or you can print off a copy of the one I used here.
- Chipboard box (example - cereal or granola box)
- Pencil
- Black card stock
- Scissors
- Tape
The template was free and I already had pencils, scissors and tape. I paid $2.40 for a 50-count package of card stock from Michaels. (Of course I used a coupon). And, I still have 37 sheets of card stock left to add to my paper hoard. Since I only used 13 sheets, this project cost 62 cents! That’s cheaper than a Dollar Tree find!
Now that you have your supplies, it's time to get to work!
First, create your template. Lay your bat shape over your chipboard box and trace it. Cut out the shape of the bat and voila - you have a sturdy template to use.
Next, using a pencil, trace around the bat on your black cardstock. I was able to get 4 bats per 8.5x11 sheet of card stock, but I did have to cut the bottom of the last bat a little smaller. You can’t tell once you have them up on the wall.
Once you have your bats cut, start placing them on the wall with tape. You can use painter’s tape if you’re worried about pulling off the finish of your walls. I just used scotch tape because I live life on the edge, I’m cheap and we need to paint anyway.
I bent the wings slighly to get a 3D flying effect.
Isn't my little gargoyle adorable? I saved him from the trash and named him Gus. He has a broken wing, but I think it adds character.
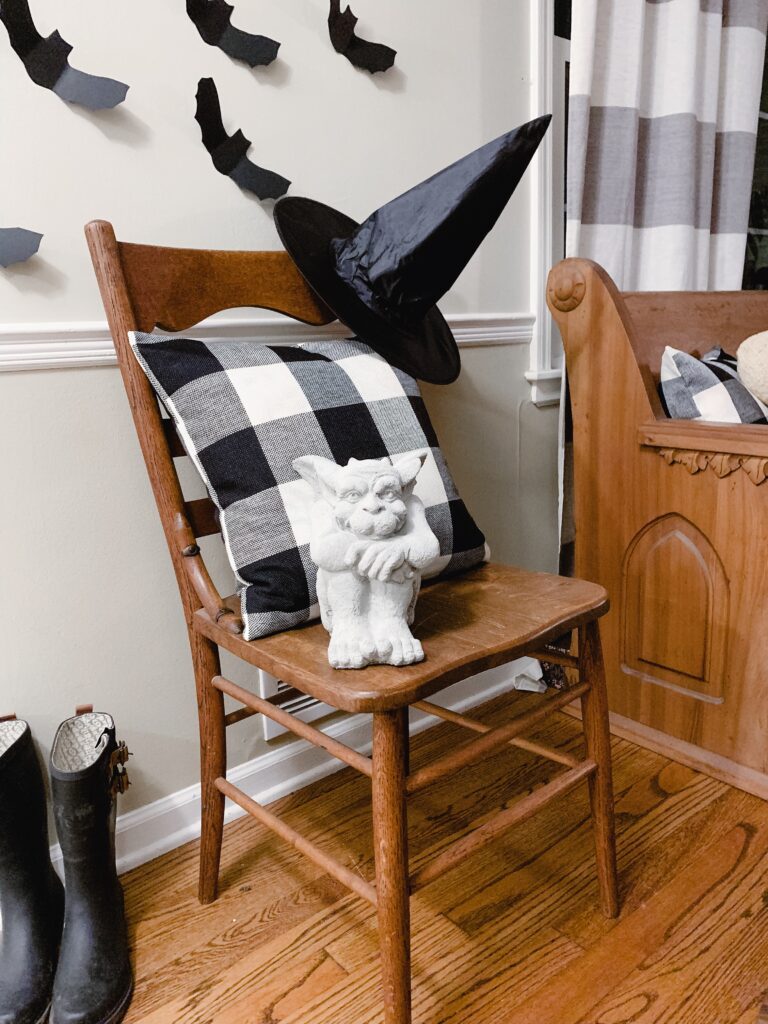
You could also hang your bats from the ceiling using fishing line. I had already done that trick with a dozen witch hats on my front porch, so I was sick of hanging stuff by the time I got around to decorating inside my house.
I had so much fun placing these bats and plotting how they would “fly” around my living room. My favorite placements were the bats behind our wedding photo.
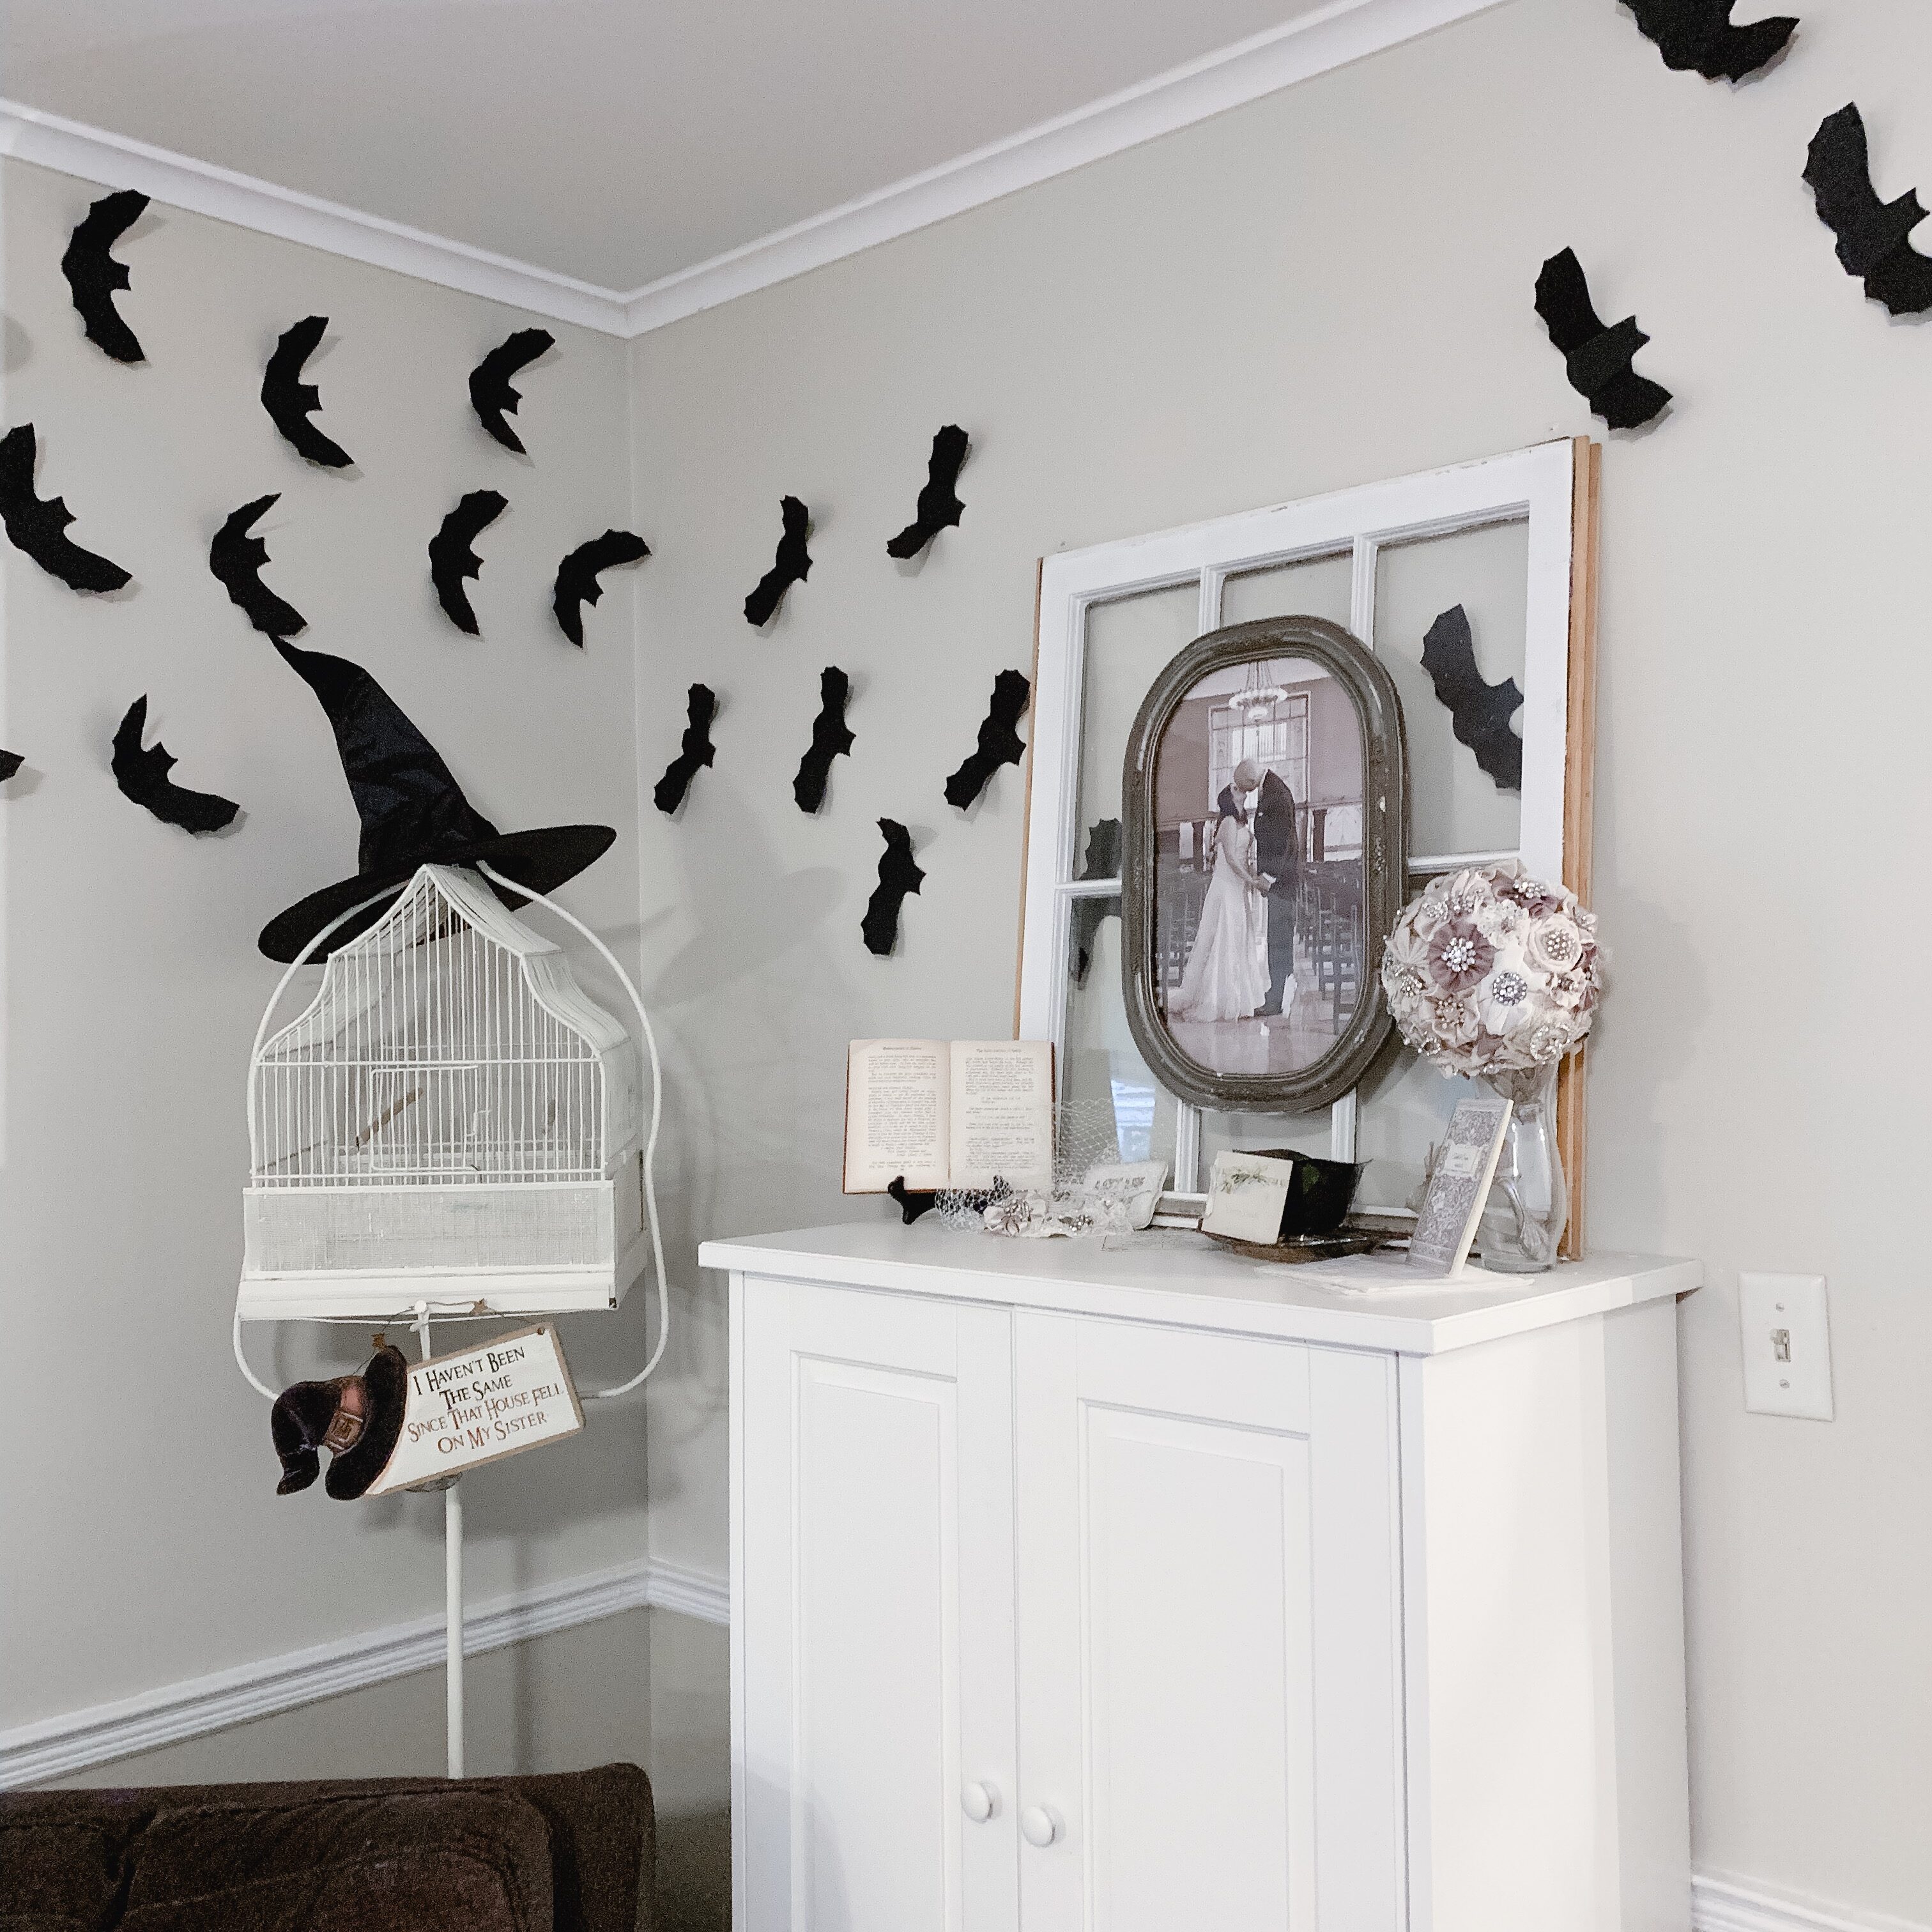
This pattern is super easy to cut. I spent probably 2 hours total cutting out all these bats. I worked on them while I watched a few episodes of Most Terrify Places on Travel Channel. My idea of a perfect October night.

I love you craftiness with these bats!!!!!
Those bats were amazing!
Love your Halloween!