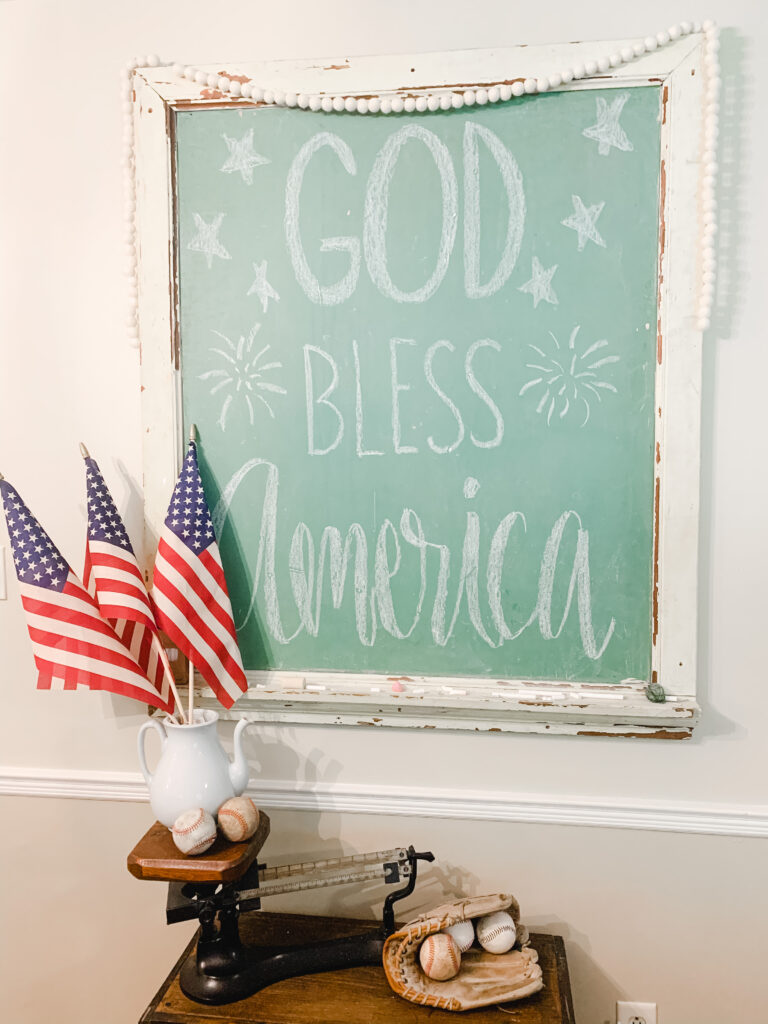
Flags are great addition to display from Memorial day through July.
I bring out my patriotic decor starting in May. I add a little bit more for Flag Day in June. Once July hits, I incorporate my final touches. It's a three month process that builds up until the 4th of July.
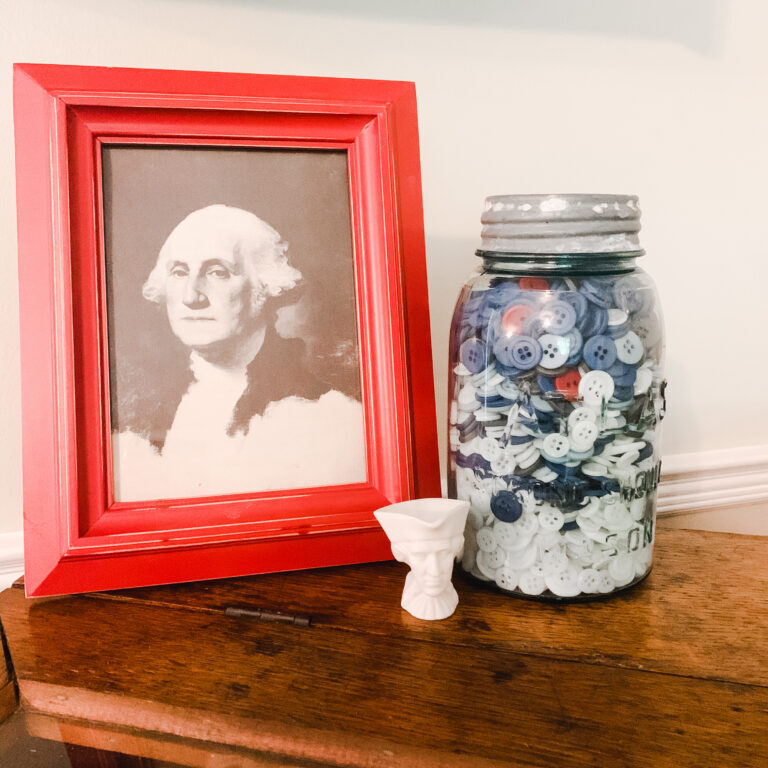
I use everything from books to flags to red, white and blue buttons. I even whip out a framed picture of George Washington and a tiny mug shaped like the General's head.
All hail King George! The pride of Mount Vernon.
I only started bringing in patriotic decor in the last few years, so I'm slowly adding to my pieces. This year, I wanted to make a fancy flag from lace and scrap fabric. I headed down to my favorite thrift store and found a ton of scrap lace! They also had the perfect navy blue linen and dark red cotton to make my flag.
I overbought. Like I bought enough to make at least 17 flags. Even with all that lace, linen and cotton, I only spent $24. And now I have a nice stash of lace and red/blue fabric for future projects. #HOARDERALERT
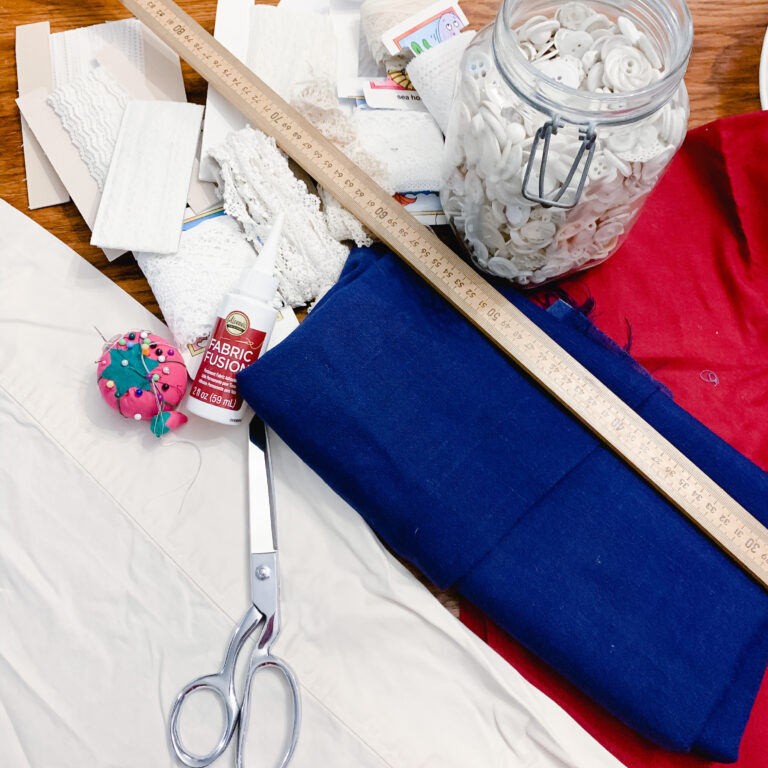
In addition to the lace, blue linen and red cotton, I also planned to repurpose an old off-white sheet my dog ripped up. I'm not sure why, but Javier has a real aversion to sheets. I can't bring myself to throw them out. I use them for all kinds of things from lining for my sweater pumpkins to rag garland. And now a portion of this sheet will be used to make an American flag.
Here is the full list of supplies:
- Red, blue and white or off-white fabric
- Buttons
- Needle and thread OR fabric glue
- Yard stick or measuring tape
- Scissors
- Chalk
- Rod or stick
Now that you have your supplies gathered, it is time to plan your flag and get to work! I'm going to be honest, I used a cheater method to plan my flag. I happened to have a few tea stained flags in my 4th of July display. I borrowed one to use as a template for this project.
Don't have a flag? No problemo. I'll share the dimensions of mine - approximately 11 3/4" x 17" for the perimeter and approximately 6 1/4" x 7 1/2" for the blue square. Technically, US flags use an aspect ration of 10:19, but we're not striving for perfection. My stripes were approximately 1" each. You'll need 7 red and 6 white.
Step 1: Make your strips for the stripes out of your lace and red and cream fabric. I actually cut a tiny notch and then ripped my strips. This gives a nice, unfinished and tattered look. Plus, it is way faster.
Step 2: Cut your blue square.
Step 3: Cut a strip of fabric about 2" wide and the same length as the short side of your flag (6 1/4" if you're using my same dimensions).
Step 4. Lay out your square and stripes and BY GEORGE, it looks like a flag!
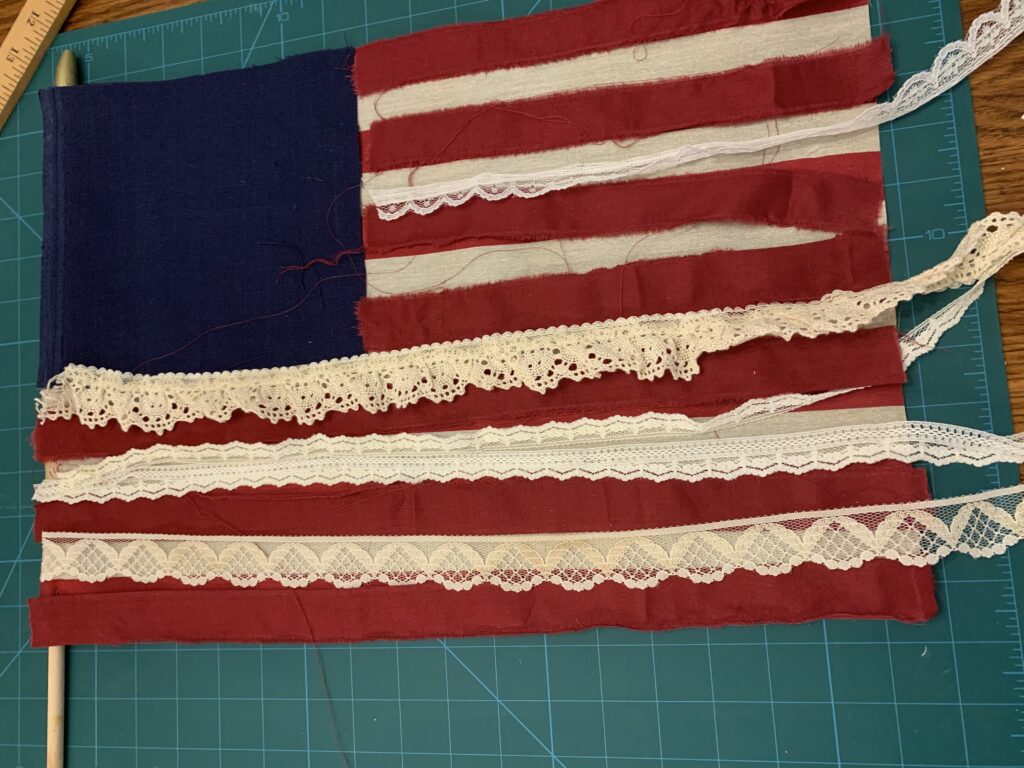
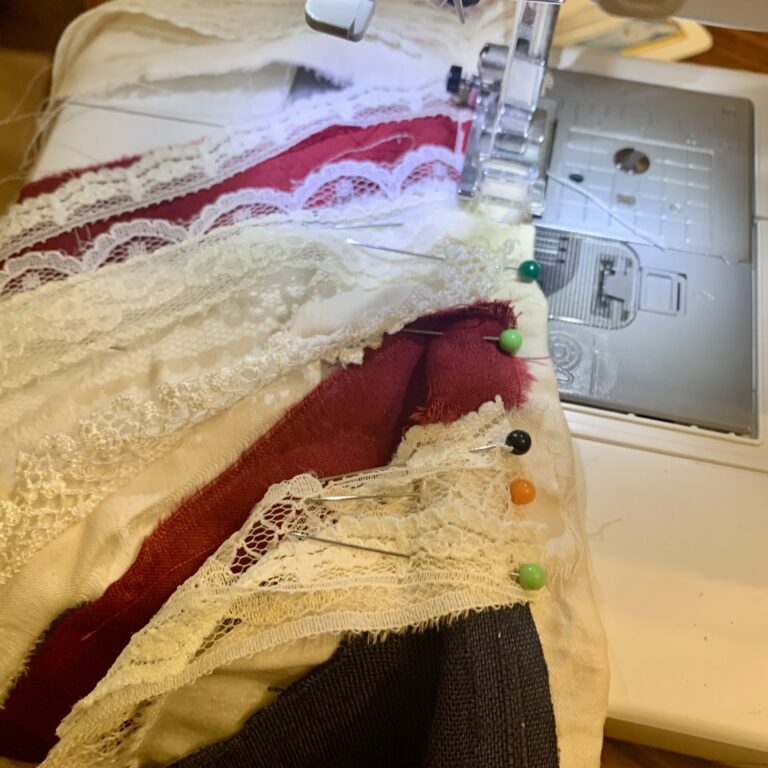
Step 5: Once you are happy with your flag, pin all the pieces in place. Remember that 2" wide strip of fabric you cut earlier? Pin your stripes and your blue square onto it. Only pin halfway up so you can fold and use this as your loop to hang the flag when you're all done.
Step 6: Sew it! You have three options: machine sew, hand sew or use fabric glue. I used my machine and it took no time at all.
Step 7: Add your buttons. Use chalk to mark where your buttons will go. I chose to do a circle of buttons as a nod to the original flag designed by Betsy Ross. But, I wanted to use more than 13 buttons, so I did. It's my flag and I'll do what I want. Sorry, Betsy.
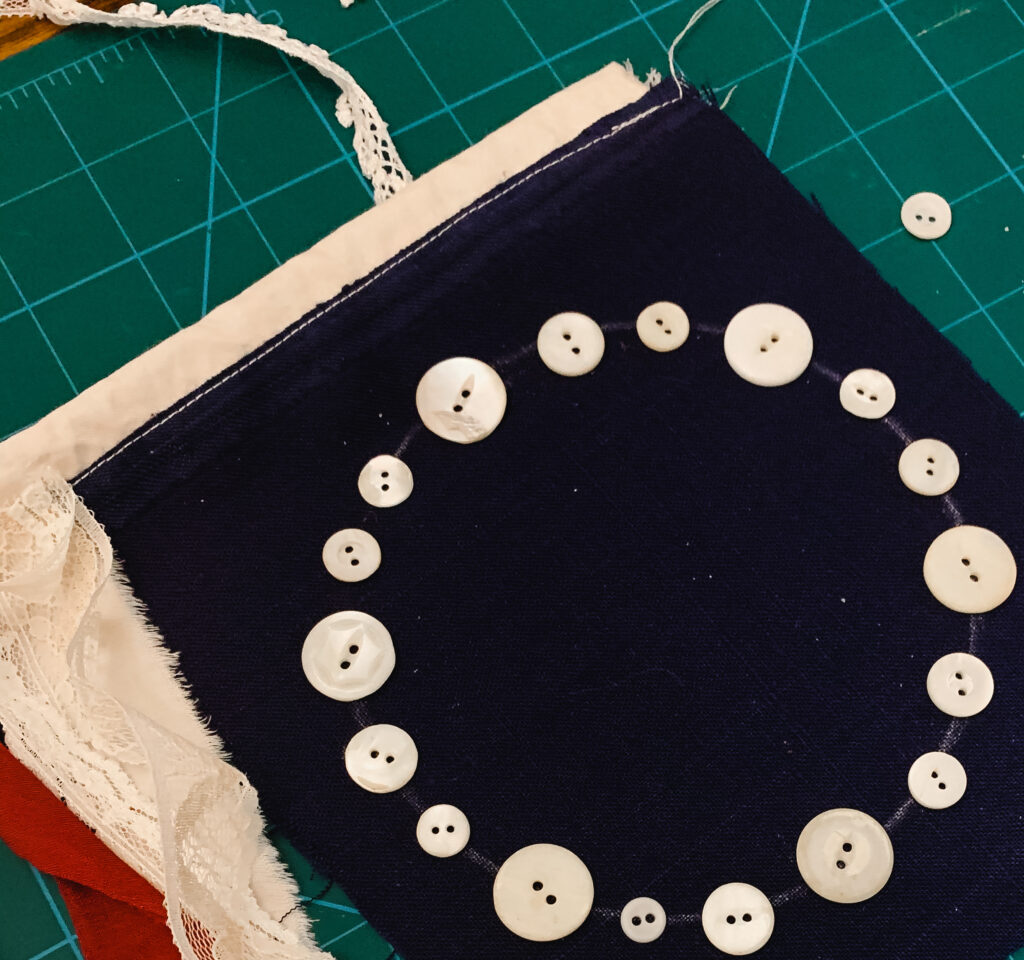
Step 8: Sew on your buttons. This was honestly my favorite part. I put on a an episode of Haunted History and lazily stitched.
Step 9: Thread your rod or stick through the loop you created at the top. I used a stick from my backyard because 1. I'm cheap and I wasn't going to pay for something and 2. We have several big trees, so I have a great selection of sticks at my fingertips.
And VOILA! A flag has been born. I love her texture and raw edges. I also really love juxtaposition of the fancy lace against the pieces of scrap fabric.
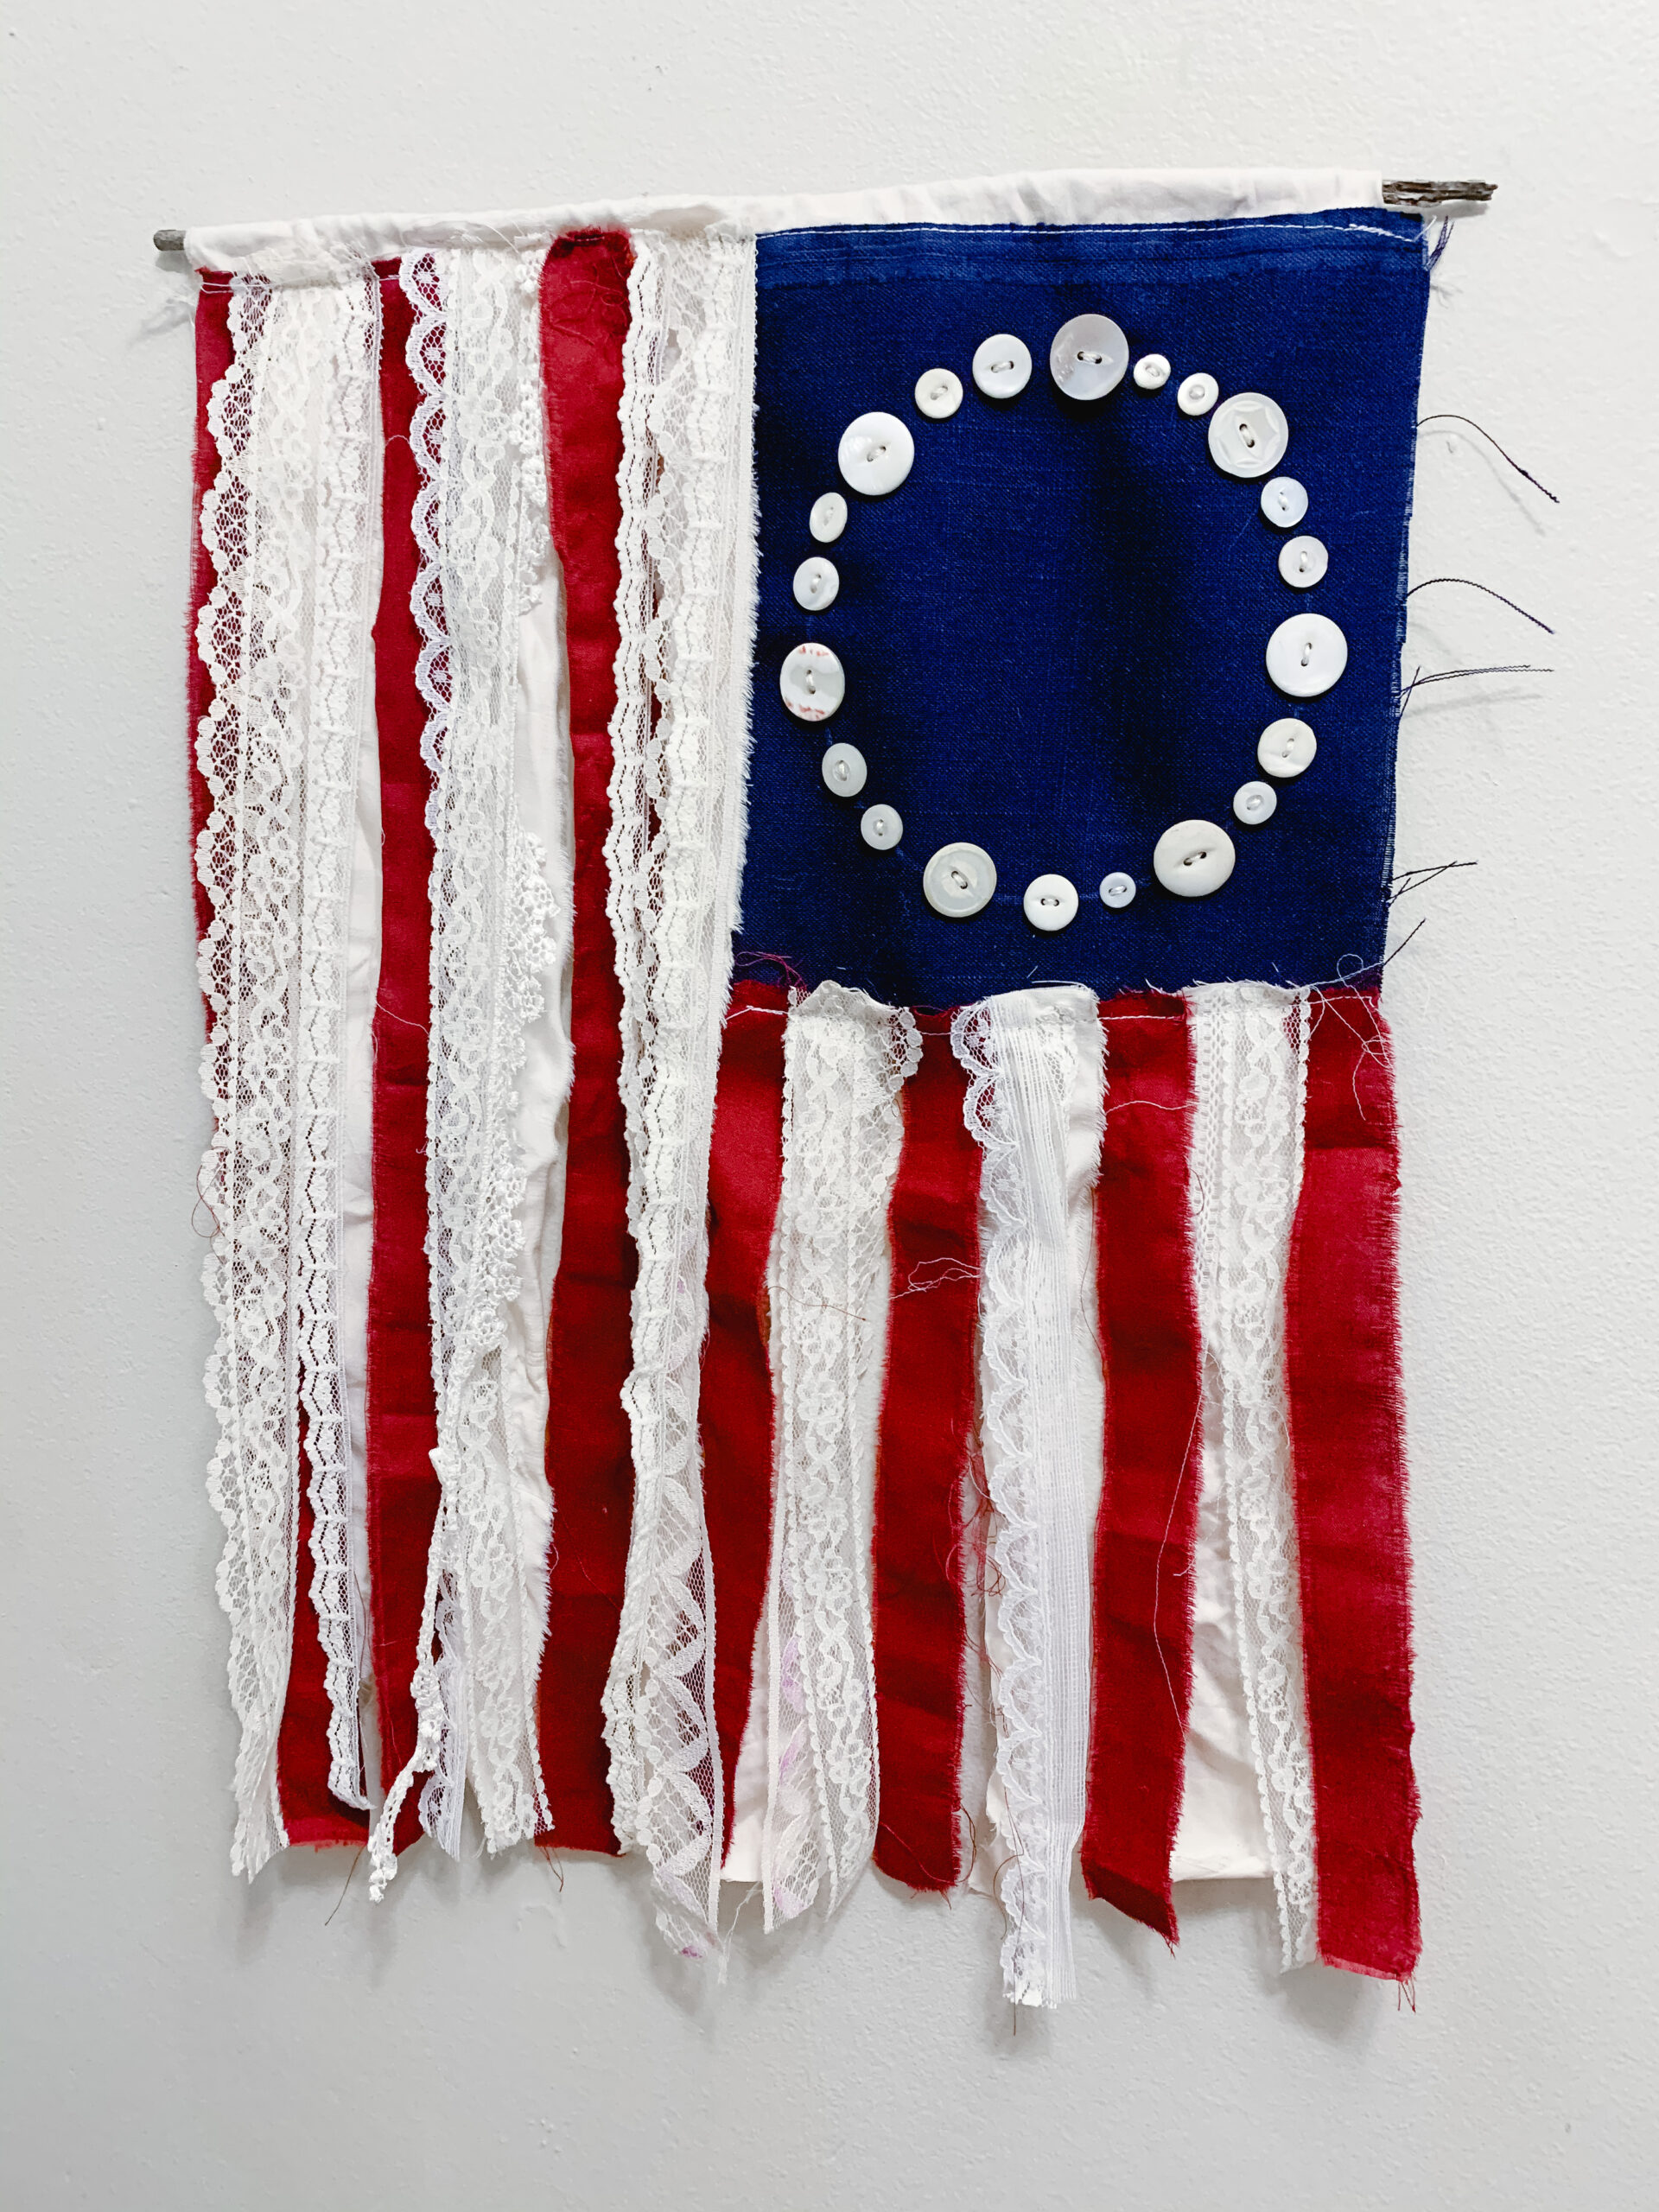
My favorite part of this flag is that I literally used scraps to make it. Old sheets, a stick from the backyard and thrift store items came together to make something really pretty. Repurposing at its finest.
