Ready to make your house bright and sunny? Bring in the daffodils!
As a March baby, daffodils hold a special place in my heart. They always pop up to usher in spring and never fail to bring a smile to my face. Look at this field full of them in Southwest Missouri. I wanted to pick a bundle so bad...darn fence.

Why only enjoy these spring flowers outdoors when you can bring them inside? I can't think of.a better centerpiece for your dining room table. Plus, at around $5 for a six pack of daffodils, you'll get a big impact for a small budget.
In this blog, we'll go over the basics of creating and caring for your living spring decor.
- Selecting your container
- Planting instructions and supplies list
- How to care for your indoor daffodils
- What do once your flowers finish blooming
Selecting your container
First, let's talk containers. While traditional planters are nice, I love the idea of planting them in an unconventional container. Here are a few ideas:
- Large white bowl. This would be perfect for a clean and classic look.
- Wood trough. For a more rustic farmhouse look, an upcycled trough made from fence posts would be so cute.
- Terracotta pot. Nothing says spring like a classic terracotta pot.
- Cut glass bowl. If you want to get super fancy, a cut glass bowl might just be the ticket.
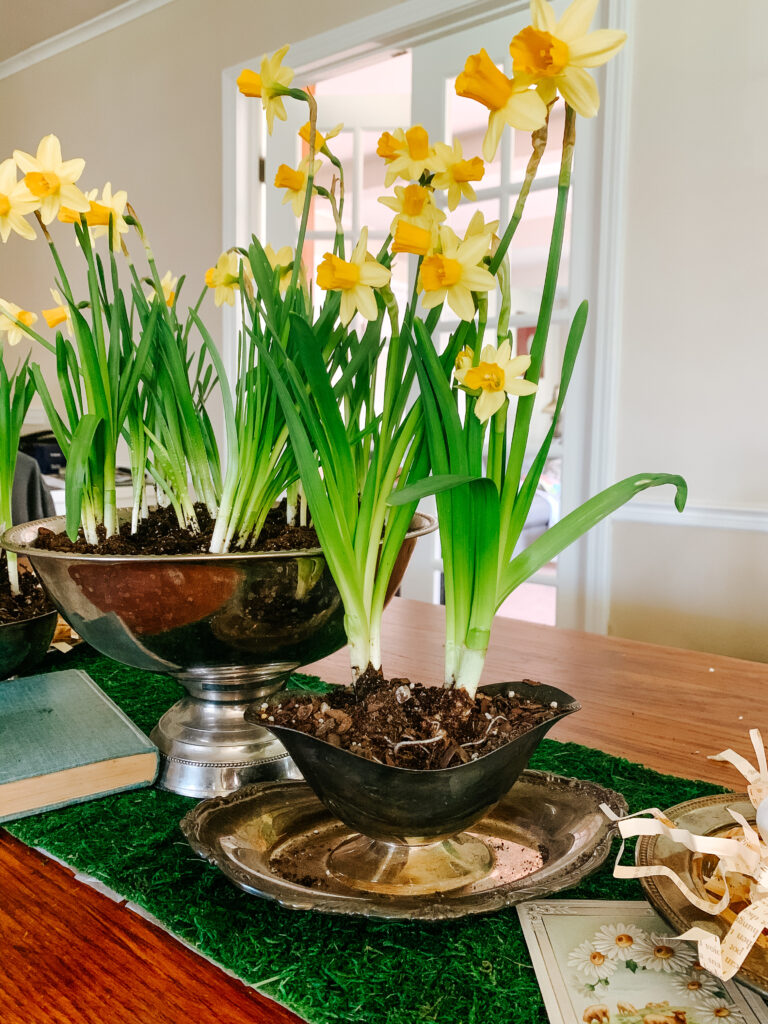
- Silverplate bowl. For a little vintage charm, you can't go wrong with a silverplate bowl.
I chose to use vintage silverplate. I think the gravy boat might be my favorite container from this project!

Planting instructions and supplies list
Once you've selected your container, it's time to plant your flowers!
Here's what you'll need:
- Container
- Small rocks (optional, depending on your selected container)
- Potting soil
- Daffodils (I used two six packs to fill three separate containers for my dining room table)
- Spray bottle
Now, you may or may not need rocks depending on what container you choose. Unless you opt for a terracotta pot or a more traditional planter with holes in the bottom, you'll need a nice bed of rocks at the bottom of your container. This will allow the water to drain out of the soil so your bulbs don't get soggy. Nobody likes a soggy bulb.
Here's a video so you can see just how simple this process is. It seriously took me about 15 minutes to create a three container dining room table display. But since nobody wants to watch me plant flowers for 15 minutes, I made a 15-second time lapse for you. You're welcome.
How to care for your indoor daffodils
Now that you're all planted, it's time to go over some basic care tips and instructions.
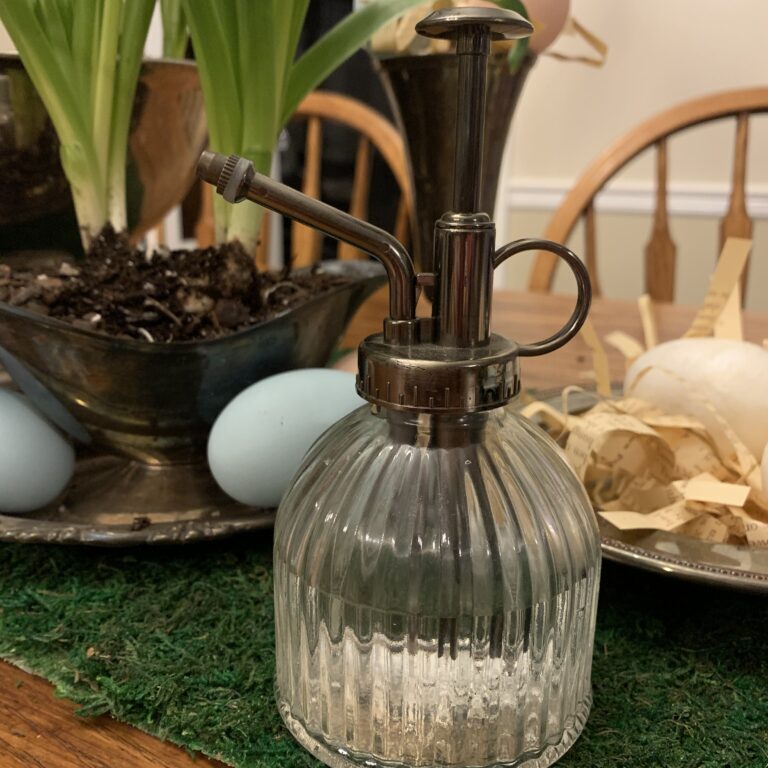
Don't water fully! Since most of these pots won't have holes for drainage, you'll want to mist the soil to keep them hydrated. I actually keep a pretty spray bottle out to make this easy for me. I got this one from Amazon. It works great and is really cute, so I don't mind leaving it on the table next to my flowers for easy access (and so I actually remmeber to water).
Check the soil a few times a week and when it is dry at the top, you'll want to spray it. Be careful not to oversaturate the soil.

Don't forget the sunlight. You'll want to leave your daffodils in a spot where they can get filtered sunlight. The leaves actually burn easily and the blooms fade faster in direct sunlight. As long as they are near a window, they should keep their bright blooms and lush green foilage for several weeks.
Keep it cool. Daffodils will bloom longer if you keep the the temperature between 50 and 70 degrees farenheit. If you like to crank the heat at your house, be prepared for shorter bloom times.
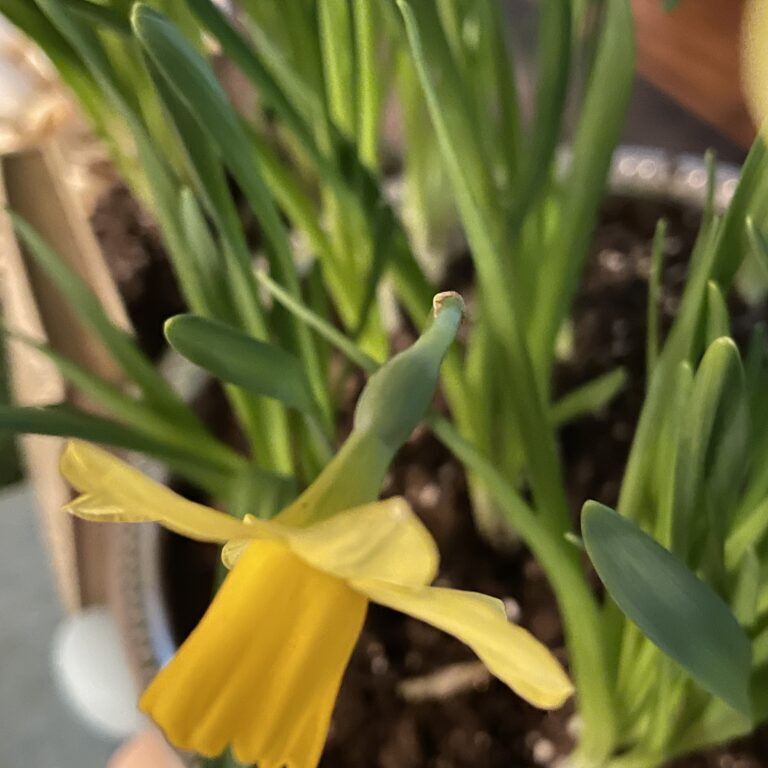
Snip your faded blooms. Once a bloom has faded, go ahead and snip it off. This will keep your living centerpiece looking bright and fresh. Snip below the bottom of the flower base, right under the puffy part (see below). It's important to leave the stem so the plant can continue to get vital nutrients. This also helps keep your arrangement looking full.

What do once your flowers finish blooming
Don't throw away those bulbs! When your display starts to yellow, transfer them to a pot with good drainage and move them outdoors. Even though they will no longer bloom and the green is yellow, they still need to absorb energy from sulight until the leaves completely die and turn brown.
Once the leaves are brown and crispy, you have two options:
- Clean and store the bulbs until fall
- Plant in your garden
This is really up to you. I usually clean and store because I like to have something to plant in the fall. If you opt for this route, simply brush all the dirt off the bulbs. If any bulbs are soggy or moldy, toss them. Store the dry, clean bulbs in a mesh bag. I use bags that I repurposed from lace curtains. It really just needs to be something that will allow the bulbs to breathe. Store in a cool, dry place until fall.
Whether you are planting at the end of spring or in the fall, here's how you plant them.
- Dig a hole about 4 inches deep. I use a handy bulb digger.
- Plant your bulbs with the pointy end up (so technical).
- Cover them up and wait until spring.
There's a chance your bulbs won't come up the next spring. Don't worry - they might just need an extra year in the ground before they get back on their natural blooming schedule if they were forced.
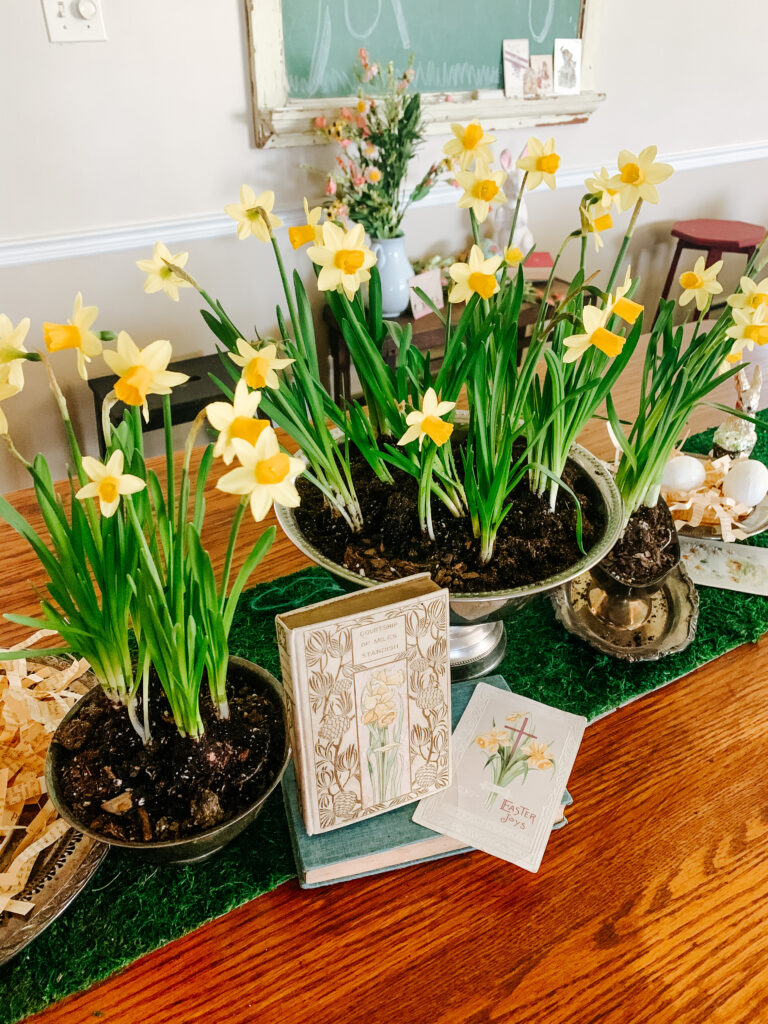
Here's a picture of my finished living Easter table. How sweet is that daffodil book and the matching postcard? I warned you I have a thing for this sunny flower.

I hope you're feeling inspired to try your hand at your own living centerpiece. Happy planting!
