Get your wrap on - money saving tips for beautifully wrapped gifts.
Now, I know wrapping isn’t everyone’s cup of tea, so I completely respect people who go the gift bag and tissue route. But I think everyone would agree that there is something so satisfying about ripping open a beautifully wrapped package.
Now, I’m not the best wrapper out there. However, I did wrap packages at Williams Sonoma as one of my many side hustles. Despite my stint as a professional wrapper, I've made some poor wrapping decisions along the way. I've put together my top 5 lessons learned to help save you money and delight those on your Christmas list.
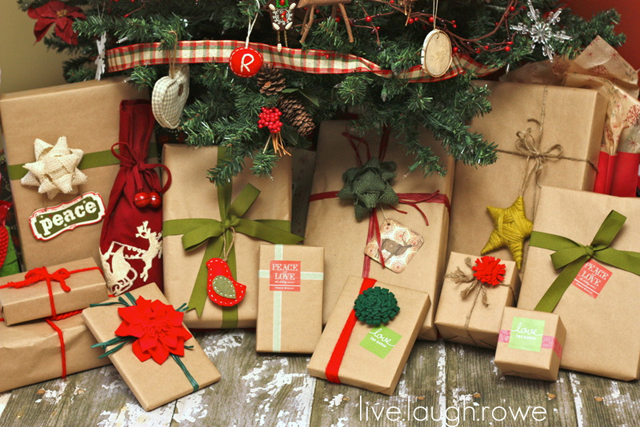
Tip #1: Pick one theme and go with it across the board.
Three reasons for this:
- It saves money because you don’t need to buy a variety of paper or embellishments.
- It makes identifying the giver much easier because everything looks the same. This is especially important when all the adults are standing around watching the sweet children rip into their gifts without stopping to read the tags.
- It makes your tree look picture perfect. Enough said.
I still have rolls of partial wrap left over from one year when I thought that each family member needed their own special wrapping. It was overkill and those partial rolls haunt me every single time I stumble across them in my basement.
Check out how adorable these packages from Kelly at live.laugh.rowe look under her tree.
Tip #2: Keep it simple.
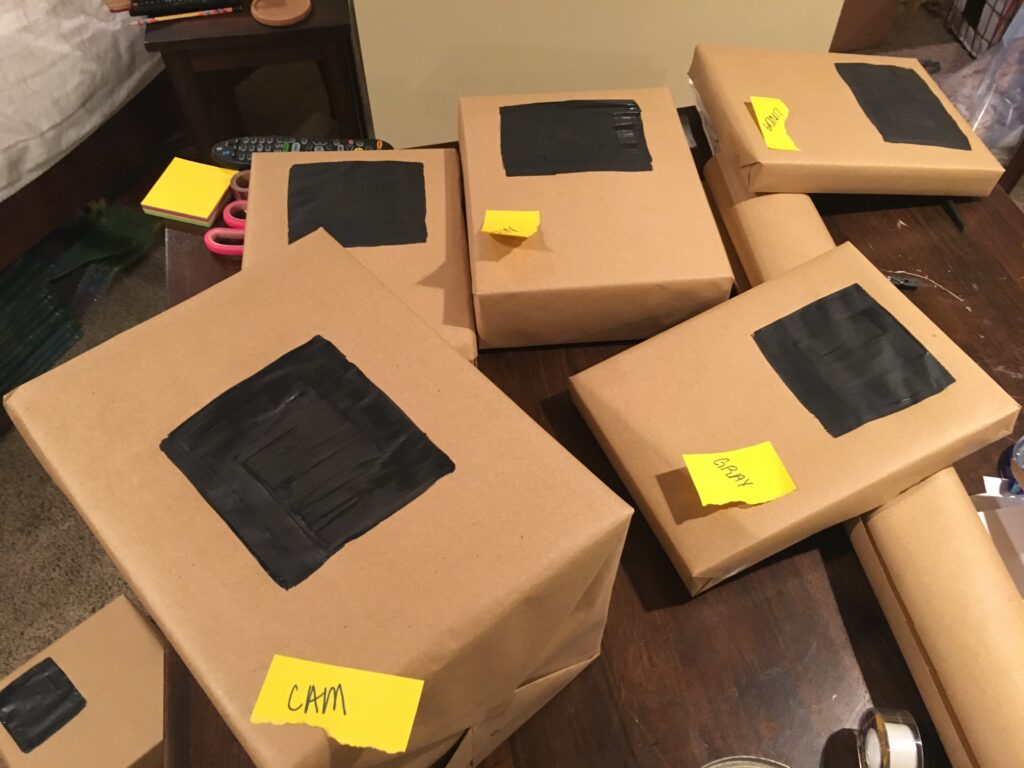
Last year I got a little crazy and painted my gifts. It seemed like a great idea when I came up with it, but I’m not gonna lie, the execution was a little tricky. I used brown kraft paper (great money saver and the only sane decision I made when it came to wrapping that year) and painted squares with chalkboard paint. Once the paint dried, I drew a cute little window with snowflakes using a chalk marker. To finish it off, I made a wreath out of boxwood ribbon and hot glued it on the window. Instead of tags, I hand lettered directly on the package.
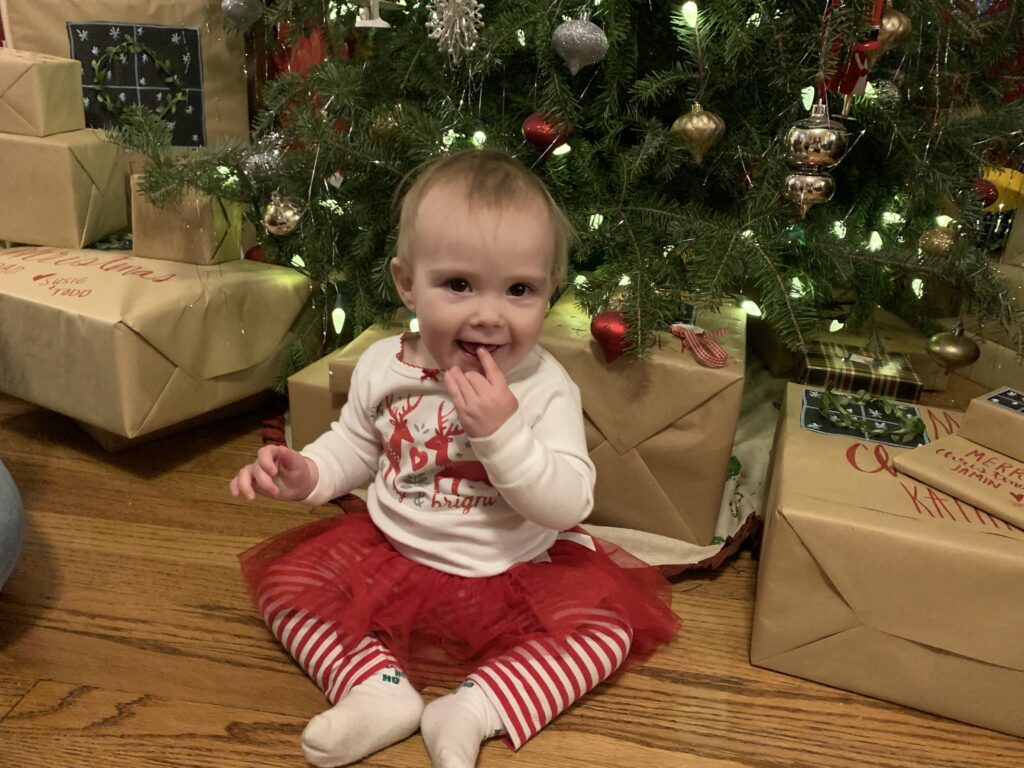
I now realize that I took no pictures of the gifts that took hours upon hours to wrap. However, I did take a million pictures of my niece's first Christmas, so you can see the final packages in the background.
Post-it notes were critical in this operation. Many of my gifts used similar size boxes, so immediately after wrapping, I wrote the name of the recipient on a post-it and stuck it to the box. If I hadn’t thought to do this at the beginning, there would have been some confused people on Christmas morning. This was a nightmare!
Tip #3: Think outside the roll.
Nothing says you have to use traditional wrapping paper. Newspaper, book pages and christmas music all make great, inexpensive options.
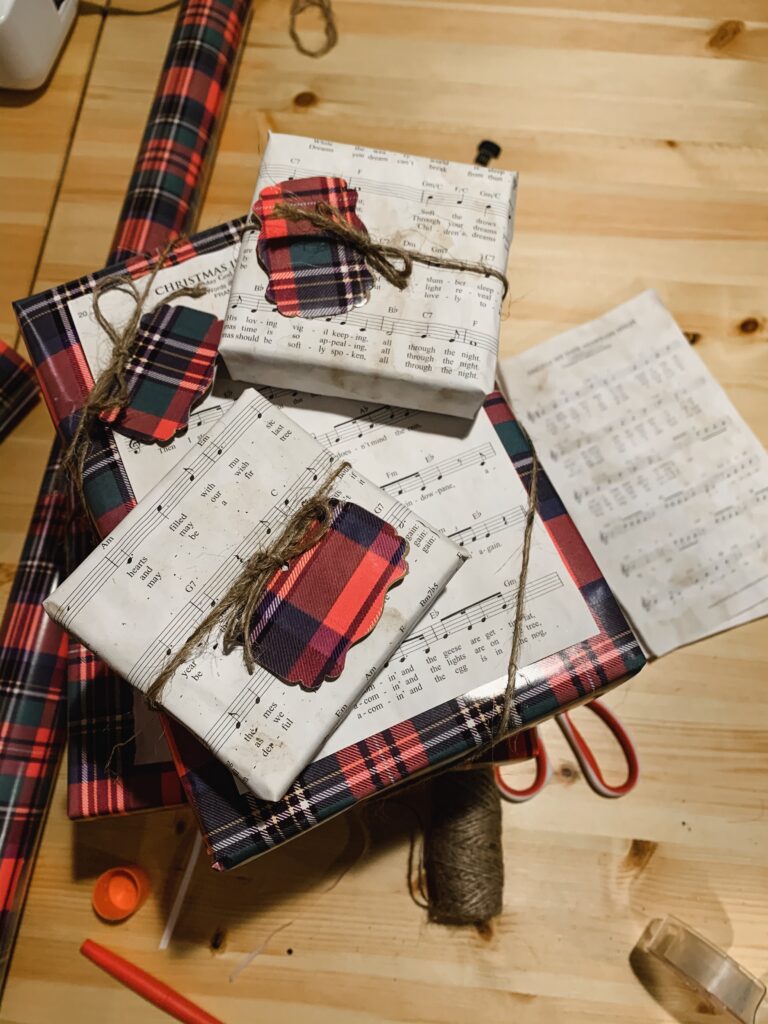
This year, I decided to go for plaid and Christmas carols. I can’t think of anything more cozy and festive than a warm Christmas plaid and well-loved Christmas songs. I have several books of vintage sheet music, but I just couldn’t bring myself to cut them up. Instead, I ordered a Christmas song book from Amazon for less than $5. The only problem? The pages were way too crisp and new.

I needed to age them and I needed to do it quick. Easy solution - tea staining. The actual tea staining took less than 20 minutes, but I lost one day of productivity while waiting for it to dry. #WORTHIT
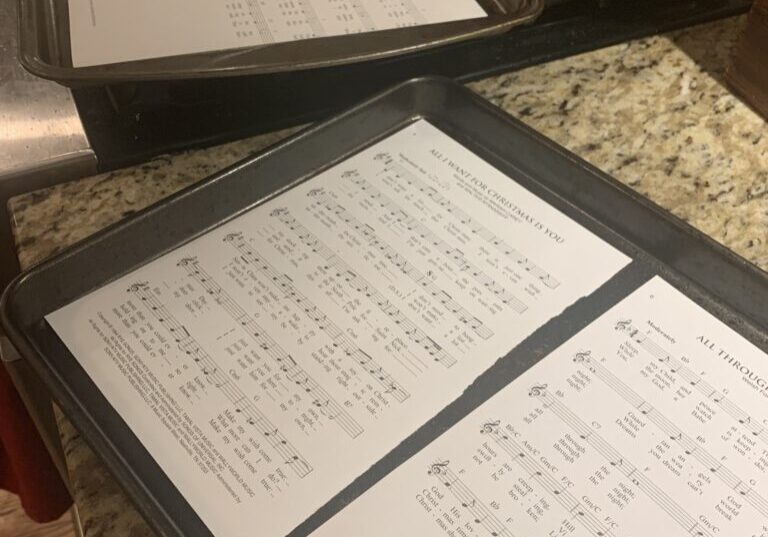
I was able to wrap some of my smaller gifts with the pages from the song book. And for the larger pages, I layered the Christmas carol on top of the plaid paper. I wanted the music to be the feature, so I did simple jute bows and tags to match the wrapping.
Tip #4: Use natural embellishments.
One year, I put delicious Hammond's Candies lollipops on the tops of all my gifts and ended up spending an extra $30 on wrapping! They were cute, but I could have bought another gift with that.
If you have a pine tree or a boxwood bush, there's no reason to pay for embelishments. We always get a live Christmas tree and I take a few cuttings off it to use on packages. You can also visit your local Lowe's and grab scraps from their live trees. I used this trick during my apartment dwelling days.
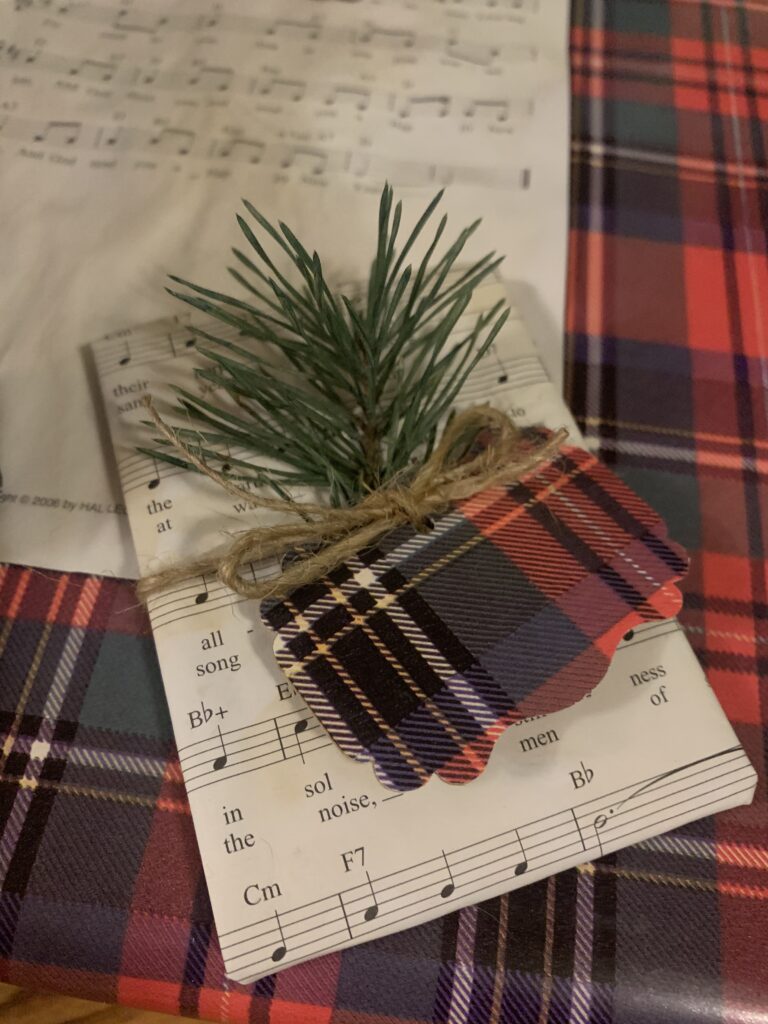
Using fresh pine did bite me when I took a candle over to our new neighbors last week. I put a fresh sprig of our pine tree on the top of it and then my neighbor couldn't touch it because she's allergic to pine. She's also allergic to cinnamon. Poor girl is basically allergic to Christmas. So don't use fresh pine if your recipient is allergic. #LESSONLEARNED
Tip #5: Don't pay for tags.
I NEVER spend money on tags anymore. One year, I bought fancy tags that were 50 cents each. That doesn’t seem like much, but when you have 30 gifts, that’s $15! I found myself on Christmas morning, running around, gathering up all the tags. Everyone thought I was cheap or crazy - or both. And they weren’t far off. I used the same tags the following 2 years and it was exhausting going through the trash each year.
Here are a few ideas for tags that won’t break the bank and have you on all fours looking through the Christmas carnage.
- Write directly on the package. If you have pretty handwriting, you might as well skip the tag and write on the package. One cute idea is to make it look like a parcel package and put the name as the recipient with an address. Oh my gosh, I’m so doing this next year!
- Punch tags out of scraps of cardstock. Save your scraps throughout the year and give them a second life as a gift tag.
- Use your wrapping paper to make the tag. This is the route I went this year.
- Think outside the box. I’ve used a partial deck of playing cards and old book pages for tags and they turned out so cute. Basically, if you can write on it and tie to a package, go for it!
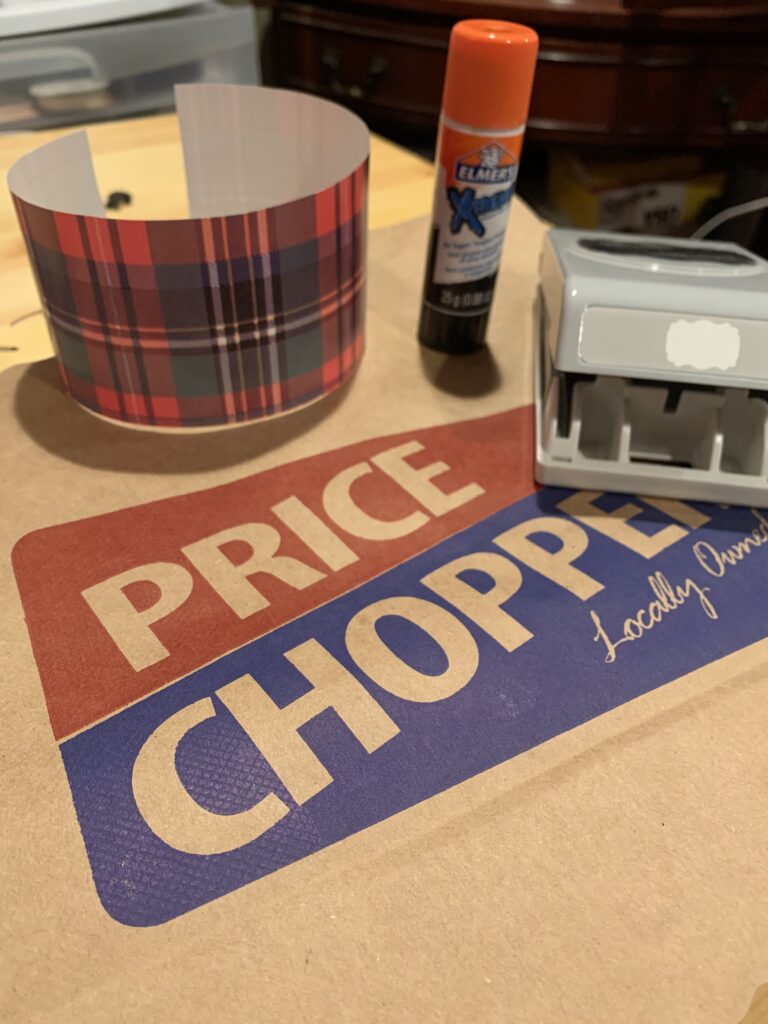
To make my plaid tags, I just punched out one tag from a brown paper grocery bag, another from my wrapping paper and glued them together. Below are all the supplies I used. Don't have a punch? No biggie, you can just cut out squares.
I hope I was able to give you some ideas of how you can make fun and memorable Christmas packages without breaking the bank. Happy wrapping!

Wonderful ideas, all! You are very creative!