Ah, the Ides of March! Today marks my five year wedding anniversary, so I thought I would share some tips on how to make one of my favorite things from my big day — a truly unique bouquet.
A few weeks after Todd proposed, I headed down to Mexico for a Casas for Cristo mission trip. I stocked up on bridal magazines to get inspired during the 17-hour drive to Mexico. I wanted something really special for my bouquet, but nothing was sticking out in the magazines. Around Elk City, OK, I saw it. A brooch bouquet. I was smitten by the sparkle and kept flipping back to look at it…I had 17 hours to kill…no reason not to spend at least 3 drooling over a picture in a magazine.
After a few hours of drooling and a few naps (pretty sure I drooled through those as well), I started thinking about how I could make the perfect brooch bouquet.
Since I have since recycled all my old wedding magazines, I can’t share the exact picture, but this one is really similar (made by the talented artist, Tatiana Agulina…check out her Etsy shop).
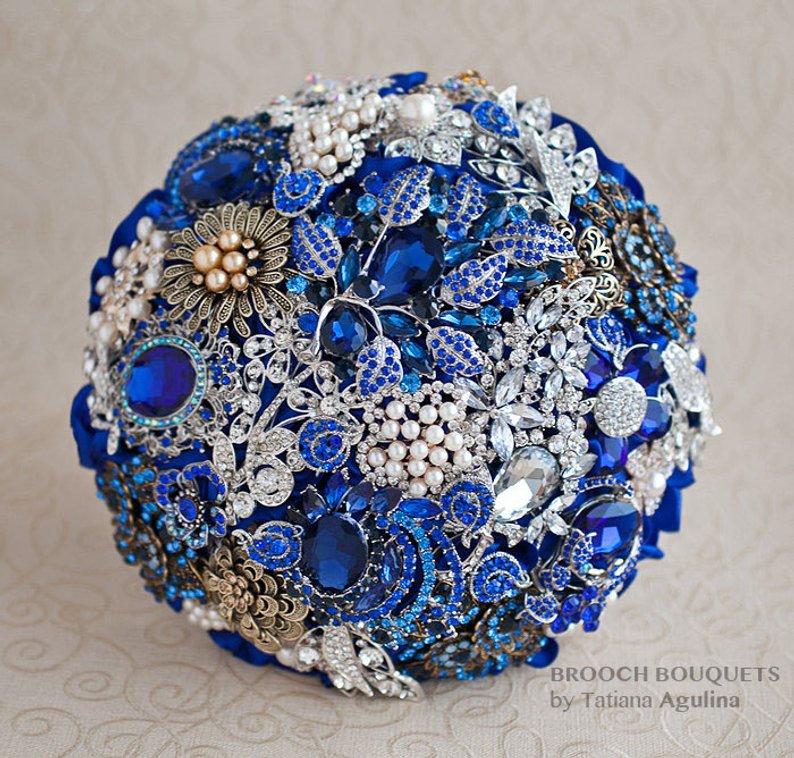
Two things bothered me about the bouquet in the magazine.
- It seemed a bit hard and metallic. Yes, I loved the sparkle from the brooches, but I wanted to soften up the metal.
- It was blue. I get it - it could be my something blue, but I wasn’t having it. Not for my bouquet.
Tackling the blue part was easy. I just wouldn’t use blue.
I decided to use the next six hours of the trip to focus and figure out how to soften up the bouquet. AKA: I googled it. Almost every bouquet I found used artificial flowers. Don’t get me wrong, a nice quality silk flower looks great, but the texture of the petals pulled some of the attention away from the brooch (that’s my nice way of saying they looked too fussy…I wanted fancy, not fussy…and yes…those are two different things).
I needed a background that would soften it up, but wouldn’t compete. It didn’t take long before I settled on fabric flowers. And then I slept for the next 5 hours and 30 minutes. We got to Mexico, built a house, drove back another 17 hours (during which I pretty much planned the rest of my wedding) and got home ready to make this brooch bouquet a reality.
Now it's time to share some tips I learned throughout my brooch bouquet journey that resulted in this thing of beauty.
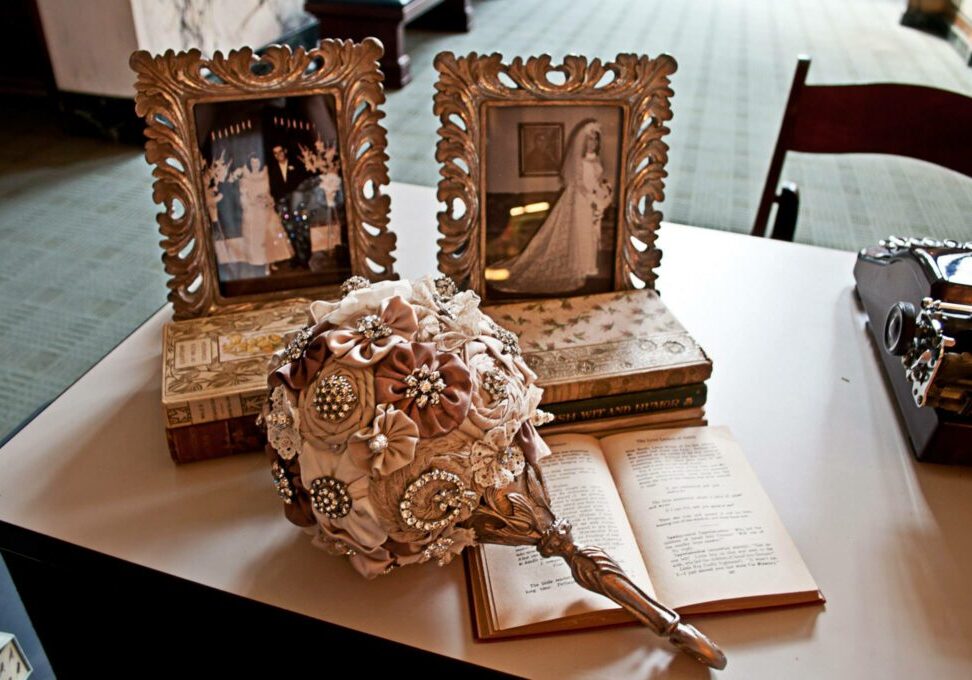
First, you’ll need to plan and begin the brooch hoarding…I mean selection…for your bouquet.
Plan your color scheme. Because “not blue” didn’t really narrow it down, I had to focus and decide what colors I would incorporate. This sounds easy, but is a critical step because if you don’t focus on color before you start buying brooches, it might look like an arts and crafts project. Because I didn’t want to use any bright or dark colors at my wedding, I went with cream, tan and sparkle (yep, sparkle is a color).
Be selective of your brooches. When I shared with friends and family that I was on the search for brooches, people started offering them up. I’m going to repeat this again…BE SELECTIVE. You never want to hurt someone’s feelings, but I found that people understood if I genuinely thanked them, but told them the color scheme just didn’t match.
This tip also applies to shopping. I found several brooches or earrings in the dollar box at estate sales, but I had to really think about how they would look in the grand scheme and not just buy them because they were cheap.
Think outside the brooch box. I made both of my bridesmaids brooch bouquets as well, so I needed to trim costs. I found most of my pieces at estate sales, garage sales and thrift stores. I also used filler in the form of fancy buttons, earrings, floral picks and even scrapbooking brads. They blended in with the brooches perfectly, but were much more cost effective. As long as I spread them out, you couldn’t tell that they weren’t vintage pieces. For a bouquet approximately 20 inches in diameter, you’ll need between 30 and 50 pieces, depending on the size of your pieces and how much space you want in between. I used 39 on mine.
Take a look at cream lace flower at the top. Instead of a brooch on this small flower, I used a decorative flowar pin. It still has rhinestone and sparkle, but they were a fraction of the cost.

Lay them out and look at them often. It’s important to lay all of your pieces next to each other as you get them so you can see if you have enough variety in size and style. You’ll be able to see if something you picked up doesn’t match the others. I kept mine on a tray with some pieces of fabric and lace that I planned to use to make the base of the flowers.
Now that you’ve collected your brooches, it’s time to move onto the flowers.
Select your textile. I used a combination of lace, slightly rough linen, organza ribbon and shantung silk in both cream and tan. Luckily, I had my bridesmaids dresses made from fabric I purchased, so I bought a little extra for a perfect match.
Because my color scheme was neutral, it was easy to incorporate a variety of textiles. There was no need to take samples and match with what I already had because with neutrals, it all just goes. This isn’t the case if you choose pink or blue as your color scheme. It is definitely possible, but might just take some extra planning and some patience while you find just the right textiles.
Here you can see the variety...I love all the different textures.
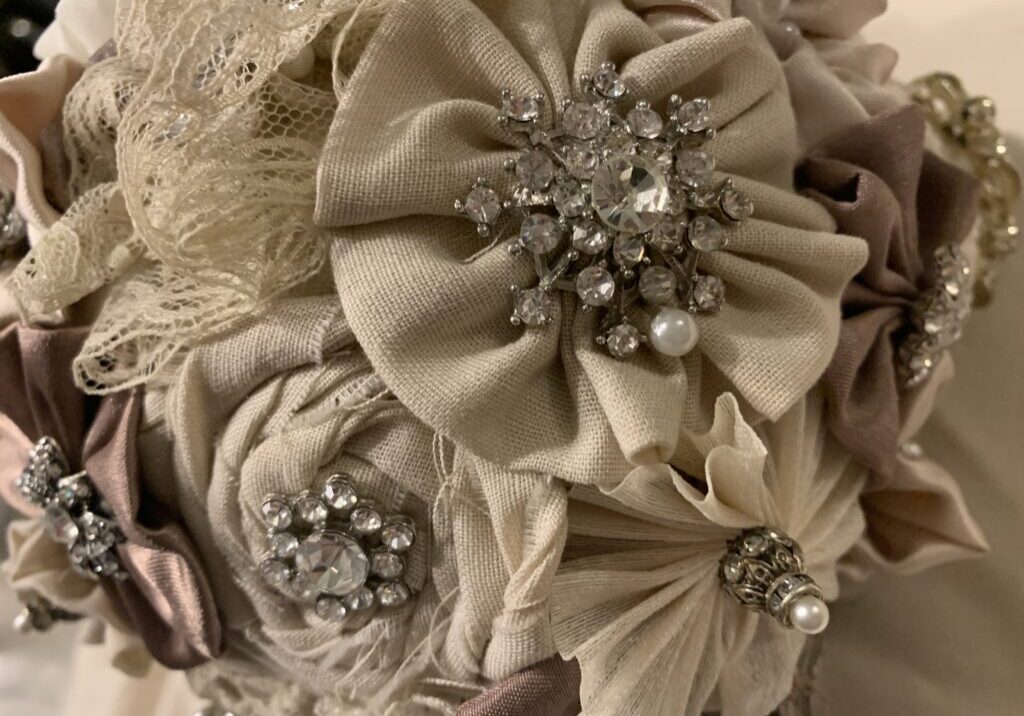
Select your flower. Once again, I wanted variety here, so I picked yo-yo flowers and rolled rosettes. Making the flowers was one of my favorite parts of this bouquet journey! My mom, future mother-in-law, sister and aunt all sat at my parent’s dining room table and made fabric flowers. #flowersforhours
My mom is an absolute pro at yo-yo flowers so she was a machine cranking those out. My sister and aunt were great at rolled rosettes (check out this easy tutorial for more information). My mother-in-law was blessed with patience and tediously removed sequins and beads from a lace gown I had purchased. And I kept everyone on task.
There are a lot of different flowers patterns to chose from. Google it. Start a Pinterest board. Try some out and see which fits your style best. Of the ones I used, the yo-yo flower will give you a classic, ruffly look and the rolled rosette is more contemporary.
You can see how the same fabric has such a different look depending on the type of flower.
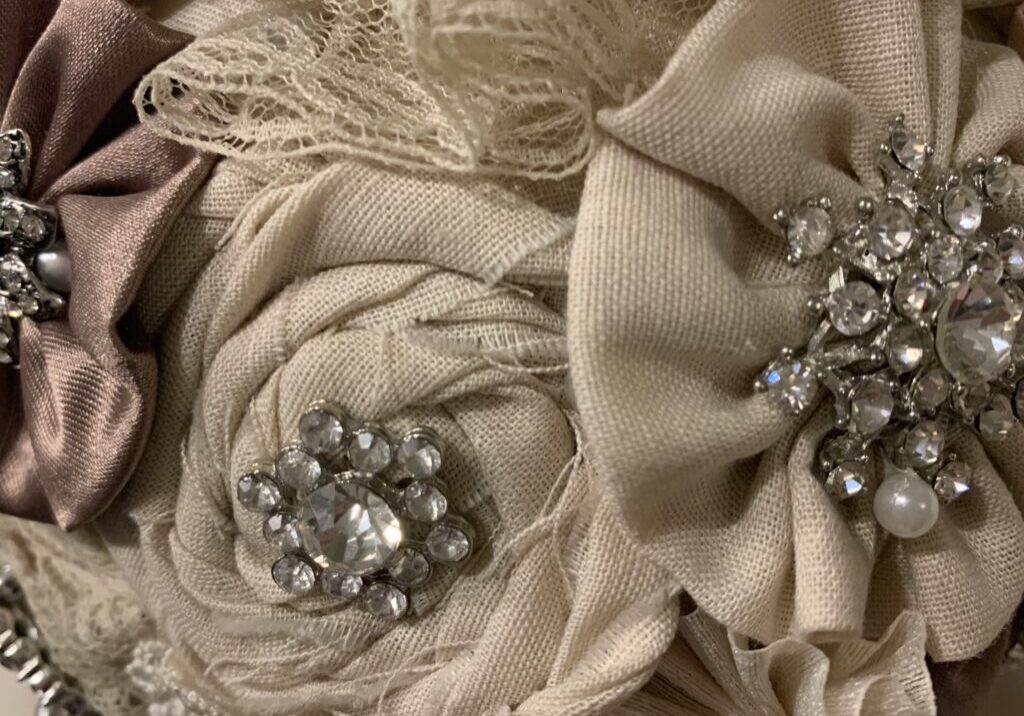
Next, you need to build your base.
I opted for a styrofoam ball for the main structure. We bought some fancy bouquet handles from a florist and used epoxy to adhere to the styrofoam ball. This creates a really sturdy base that was easy to hold…see even my Dad had no trouble holding two.
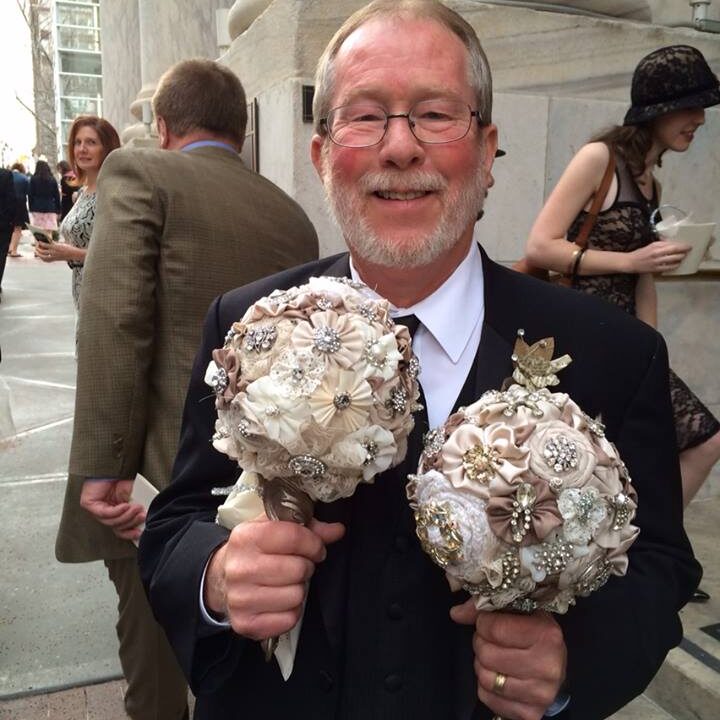
Now, moving on to the really fun part - putting it all together!
Place the flowers and brooches. When it came to adding the flowers and brooches to the styrofoam ball, I didn’t want to permanently adhere them yet. I was having a slight fear of commitment…ironic considering I was making my wedding bouquet. I wanted flexibility to move things around.
Instead, I laid out all the flowers and matched them with the brooches before sewing the brooch to the flower. Then I used floral pins to attach the flowers to the styrofoam ball. This worked like a dream. I could easily move around the flowers if I didn’t like the original placement. Once everything was placed perfectly, I realized there was no reason to go back and glue them on. The pins held everything firmly in place, and it allowed me to make any last minute changes or remove some later if I wanted. For example, I have some special ones that I might want to wear someday…I haven’t in five years, but at least I have the option.
There you have it - everything you need to know to make a beautiful brooch bouquet. No wedding in the near future, no worries. This makes for a stunning centerpiece regardless of whether or not you used it as your bridal bouquet. Five years later, my bridesmaids still have theirs displayed in their dining rooms. My aunt even tries to steal mine every time she visits.
Best of luck designing and creating your brooch bouquet!

These bouquets were simply beautiful. So unique. But more that that. They were lovingly put together by family and friends.Their hands and hearts came together to create a beautiful family heirloom. Some family pieces were used to make the bouquets extra special. Extraordinary touches made for an special wedding.
I love this blog post because I feel like you allowed me to walk with your thoughts and get to know you a little bit better. Thank you for sharing!